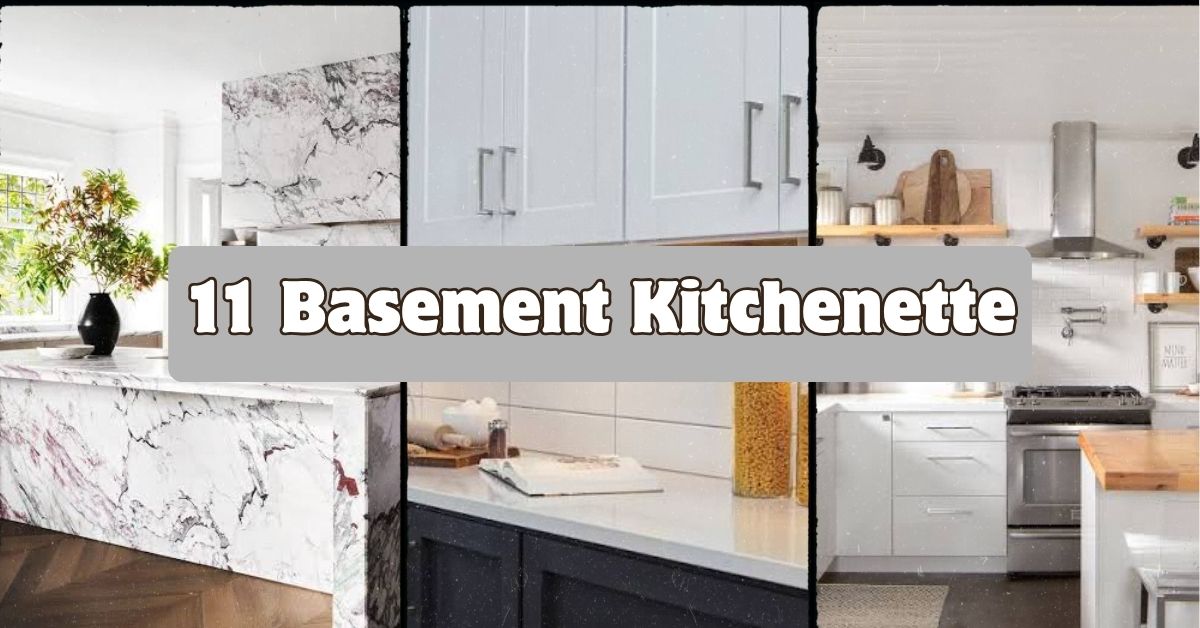
If you’ve been searching for the best 11 Basement Kitchenette ideas, I’ve got you covered with everything you need to turn that dusty basement corner into a real functioning space. I’ve dug through design trends, talked to folks who’ve done these renovations, and pulled together what actually works versus what just looks good in a magazine. This isn’t a fluffy list. It’s the real deal.
A basement kitchenette is a small, secondary cooking and food prep area installed in a basement, typically including a mini fridge, sink, microwave, and some counter space. It serves guests, renters, or family members without requiring a trip upstairs to the main kitchen.
Stick around, because I’m about to walk you through 11 specific layouts and design choices that turn a cold basement into a space people actually want to hang out in.
What Exactly Is a Basement Kitchenette Anyway?
Okay, so let’s back up for a second. A kitchenette isn’t a full kitchen. It’s smaller, simpler, and way more forgiving on your budget. Think mini fridge instead of a full-size one. Think two-burner cooktop instead of a six-burner range.
I love kitchenettes because they solve a real problem. Maybe you’ve got a teenager who wants their own space. Maybe you rent out your basement as an apartment. Maybe you just want somewhere to grab a snack during movie night without climbing two flights of stairs. Whatever your reason, a basement kitchenette gives you flexibility without the cost of a full kitchen remodel.
Now let’s get into the good stuff.
1. Go Small with a Galley-Style Layout
If your basement is narrow, a galley layout is your best friend. This means putting your counter, sink, and appliances in a straight line along one wall. It’s simple, efficient, and doesn’t eat up floor space.
I’d suggest sticking with light countertop colors like white quartz or pale gray laminate. Light colors bounce around whatever natural light you have, which basements desperately need. Add open shelving above the counter instead of bulky cabinets to keep things feeling airy.
Practical tip: measure your walkway space first. You want at least 36 inches of clearance so two people can pass each other comfortably.
This layout works great in modern farmhouse basements and also fits industrial-style spaces with exposed pipes overhead. Once you’ve nailed the layout, it’s time to think about what goes on top of those counters.
2. Add a Waterfall Countertop for a High-End Look
A waterfall countertop is when the counter material wraps down the side of the cabinet instead of stopping at the edge. It looks expensive, but you can do it on a budget with laminate that mimics stone.
This trick works especially well in basement kitchenettes because it draws the eye downward and makes low ceilings feel less oppressive. Pair it with matte black hardware for a modern contrast, or brass pulls if you’re going for something warmer.
Quick tip: ask your countertop installer about remnant pieces. Waterfall edges use extra material, and remnants can cut your cost by 30 to 40 percent.
Coastal basements look great with a soft blue-gray waterfall edge, while traditional spaces do well with warm beige tones. Once your counters are sorted, lighting becomes your next big decision.
3. Install Under-Cabinet LED Lighting
Basements are naturally dim. No amount of paint color fixes that completely. Under-cabinet LED strips solve the problem by throwing light exactly where you need it, right on your counter and workspace.
These lights are cheap, easy to install yourself, and use very little electricity. Go with a warm white bulb, around 2700 to 3000 Kelvin, so the space feels cozy instead of clinical.
Actionable tip: buy strips with a dimmer remote. You’ll want brighter light for cooking and softer light for late-night snacking.
This idea works in literally every design style because lighting is functional first, decorative second. Now that your kitchenette is lit properly, let’s talk storage.
Basement Kitchenette Lighting Comparison
| Light Type | Avg Cost | Brightness (Lumens) | Best Use |
|---|---|---|---|
| LED Strip Lights | $15-$40 | 300-600 | Under cabinets |
| Recessed Can Lights | $30-$75 per light | 650-800 | General ceiling light |
| Pendant Lights | $40-$150 | 450-800 | Over counter/bar area |
| Puck Lights | $10-$25 each | 200-350 | Accent/display shelves |
4. Use Open Shelving Instead of Upper Cabinets
I know cabinets feel safer because they hide clutter. But open shelving makes a small basement kitchenette feel bigger and less closed in. It also forces you to keep things tidy, which honestly isn’t a bad thing.
Go with wood shelves if you want warmth, or floating black metal shelves for something more industrial. Style them with a few plates, some glass jars, and maybe one plant that can survive low light, like a pothos.
Practical tip: don’t overload the shelves. Three to five items per shelf looks curated. Ten items looks cluttered.
Modern and Scandinavian basements shine with open shelving, while traditional homes might prefer glass-front cabinets instead. Speaking of cabinets, let’s talk about color choices next.
5. Paint Cabinets a Bold, Unexpected Color
Basements get a bad reputation for being dark and dull. Fight back with a bold cabinet color. Deep green, navy blue, or even a rich terracotta can make your kitchenette the most interesting room in the house.
Bold colors work especially well in basements because there’s usually less competing color from windows or outdoor views. Balance a dark cabinet with a lighter countertop and lighter walls so the room doesn’t feel like a cave.
Tip you can use today: test your paint color with a sample swatch under your actual basement lighting, not daylight. Basement bulbs change how colors look more than you’d expect.
Coastal kitchenettes love soft sage or navy, while modern spaces often go with charcoal or matte black. Once your color scheme is locked in, it’s time to think about the sink setup.
6. Choose a Compact Farmhouse Sink
Yes, farmhouse sinks can fit in small spaces. Look for a 24-inch version instead of the standard 30 or 36-inch size. It still gives you that deep basin for washing dishes or rinsing produce, minus the bulk.
Pair it with a simple gooseneck faucet in a finish that matches your cabinet hardware. This little detail ties the whole kitchenette together visually.
Actionable tip: install a water filter under the sink if this kitchenette will see regular use. Basement plumbing sometimes sits longer between uses, and filtered water tastes fresher.
Farmhouse sinks fit naturally into traditional and cottage-style basements, but a stainless apron-front sink gives the same functionality with a more modern look. Now let’s talk about what goes above that sink.
7. Add a Statement Backsplash
A backsplash is one of the cheapest ways to add major personality to a small space. Because kitchenettes have less counter and cabinet area overall, the backsplash becomes a bigger visual player in the room.
Try a bold tile pattern like hexagon or herringbone. Subway tile is classic and affordable, but a colorful zellige tile adds texture and depth that photographs beautifully.
Practical tip: use peel-and-stick tile if you’re renting or want a temporary solution. Good ones look surprisingly real and cost a fraction of ceramic tile.
Traditional basements do well with classic white subway tile, while eclectic or boho spaces can handle a wild pattern mix. With your backsplash sorted, let’s move on to seating.
Backsplash Material Comparison
| Material | Cost per Sq Ft | Durability | Install Difficulty |
|---|---|---|---|
| Ceramic Subway Tile | $5-$10 | High | Moderate |
| Peel-and-Stick Vinyl | $3-$8 | Medium | Easy |
| Natural Stone | $15-$30 | High | Difficult (pro recommended) |
| Glass Tile | $10-$25 | Medium-High | Moderate |
8. Squeeze in a Two-Person Breakfast Bar
If your basement kitchenette has even a small footprint, a breakfast bar gives people somewhere to sit besides the couch upstairs. Two barstools and 18 inches of counter overhang is usually enough.
Choose stools with backs if you plan on sitting there a while, or backless stools if you want to save space and slide them under the counter completely when not in use.
Actionable tip: measure 24 to 28 inches between stool centers so people aren’t bumping elbows.
Industrial basements look sharp with metal stools and a wood-topped bar, while coastal spaces might use woven rattan seats instead. Once seating is handled, storage solutions come next.
9. Install a Slide-Out Pantry Cabinet
Basement kitchenettes rarely have room for a full pantry, but a slim slide-out cabinet, sometimes just 6 to 9 inches wide, tucks into gaps between appliances or cabinets. It holds an impressive amount of canned goods, snacks, and spices.
These pull-out units keep everything visible and reachable instead of getting lost behind other items. Most home improvement stores sell them as add-on units for existing cabinet boxes.
Practical tip: measure your gap space before buying. Even a half-inch difference matters with these narrow units.
This idea works in every design style because it’s purely functional and mostly hidden. Next, let’s talk flooring, since that ties the whole room together.
10. Choose Water-Resistant Flooring
Basements deal with moisture more than any other room in the house. A kitchenette adds even more risk with sink splashes and spills. Skip real hardwood and go with luxury vinyl plank or porcelain tile instead.
Luxury vinyl plank mimics wood grain almost perfectly now, and it handles water without warping. Porcelain tile works great too, especially with a small area rug layered on top for warmth underfoot.
Tip you can act on right now: look for flooring rated for “wet areas” or with a slip-resistance rating, especially near the sink zone.
Modern basements often go with large-format gray tile, while cottage-style spaces might choose a warm wood-look vinyl plank. With floors sorted, let’s talk about making the ceiling feel less low.
11. Paint the Ceiling to Match the Walls
Basement ceilings are usually lower than upstairs, and that exposed duct work doesn’t help. One trick designers swear by is painting the ceiling the exact same color as the walls. This removes the visual line where wall meets ceiling, making the whole room feel taller.
This works especially well with darker, bold colors, since the eye doesn’t naturally look for contrast between wall and ceiling the way it does with white.
Practical tip: use a paint labeled for ceilings if there’s any exposed duct work, since these formulas usually handle metal and pipe surfaces better.
This trick works in nearly any design style, from modern minimalist to cozy traditional. Now let’s round things out with one more idea that ties everything together.
12. Add a Mini Wine Fridge or Beverage Center
A basement kitchenette is the perfect spot for a mini wine fridge or beverage cooler. It’s a small addition, usually 15 to 24 inches wide, but it adds a ton of function for entertaining without taking up much space.
Tuck it under the counter next to your mini fridge, or build it into an open shelving unit as a focal point. Glass-front models look sleek and let you show off drink options to guests.
Actionable tip: leave at least 2 inches of clearance around built-in units for proper ventilation. Overheating shortens their lifespan fast.
This addition fits modern basements beautifully, but even traditional spaces can pull it off with a wood-paneled cabinet front that hides the appliance look. With all 12 ideas covered, let’s move into some quick success tips.
Tips for Success
- Measure everything twice before buying appliances. Basement doorways and stairwells are often narrower than main floor entries, and delivery trucks can’t always get large items down there easily.
- Check your local building codes before adding a sink or gas line. Some areas require permits for basement plumbing work.
- Add a dehumidifier nearby if your basement runs damp. Moisture control protects your new cabinets and flooring investment.
- Plan your electrical outlets before finishing walls. Adding outlets after drywall is up costs way more money and time.
- Choose appliances with a shorter depth, around 24 inches, to keep walkways clear in tight basement footprints.
- Test your basement’s ventilation before cooking anything with strong smells down there. A small exhaust fan makes a huge difference.
Common Mistakes and How to Avoid Them
Skipping proper ventilation
: Basements trap smells and moisture easily. Install a small exhaust fan or vent to the outside if you’re doing any real cooking down there.
Choosing full-size appliances
: Big appliances eat up space fast in a small kitchenette. Stick with mini or apartment-size versions built for compact spaces.
Ignoring the ceiling height
: Low basement ceilings feel worse with bulky upper cabinets. Go with open shelving or shorter cabinet runs instead.
Forgetting about natural light
: Basements already lack sunlight. Skip dark, saturated wall colors near windows and use mirrors to bounce around whatever light exists.
Overlooking waterproofing
: Basement moisture ruins cabinets and flooring over time. Choose water-resistant materials from the start instead of fixing damage later.
Placing the kitchenette too far from plumbing lines
: Extending water lines a long distance adds major cost. Position your sink and appliances near existing plumbing whenever possible.
Similar Variations
- Basement Wet Bar: A smaller setup focused on drinks and entertaining, usually skipping the stove or oven entirely.
- In-Law Suite Kitchenette: A more complete kitchenette designed for a family member living downstairs long-term, often including a full-size fridge.
- Basement Coffee Bar: A tiny corner dedicated just to coffee and espresso equipment, popular in home offices built into basements.
- Rental Unit Kitchenette: A basic but code-compliant kitchen setup designed for tenants, focused on function over style.
- Media Room Snack Station: A stripped-down kitchenette built specifically for movie nights, usually just a mini fridge and microwave near the seating area.
- Craft Room Utility Kitchenette: A small sink and counter setup added to a basement craft space for easy cleanup, not really meant for cooking meals.
Building a basement kitchenette doesn’t have to feel overwhelming once you break it into small decisions like layout, lighting, storage, and flooring. Every choice builds on the last one, and before you know it, that unfinished basement corner turns into a space your whole family actually wants to use. Whether you go bold with cabinet color or keep things simple with open shelving, the right combination of these 11 Basement Kitchenette ideas will get you there.
Leave a Reply