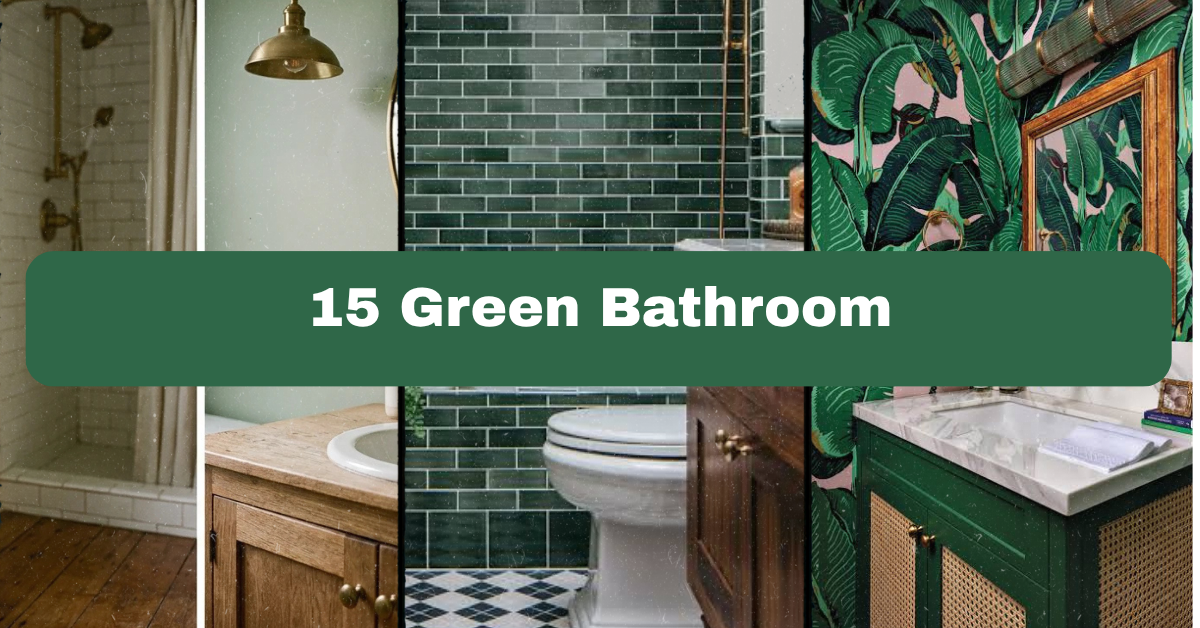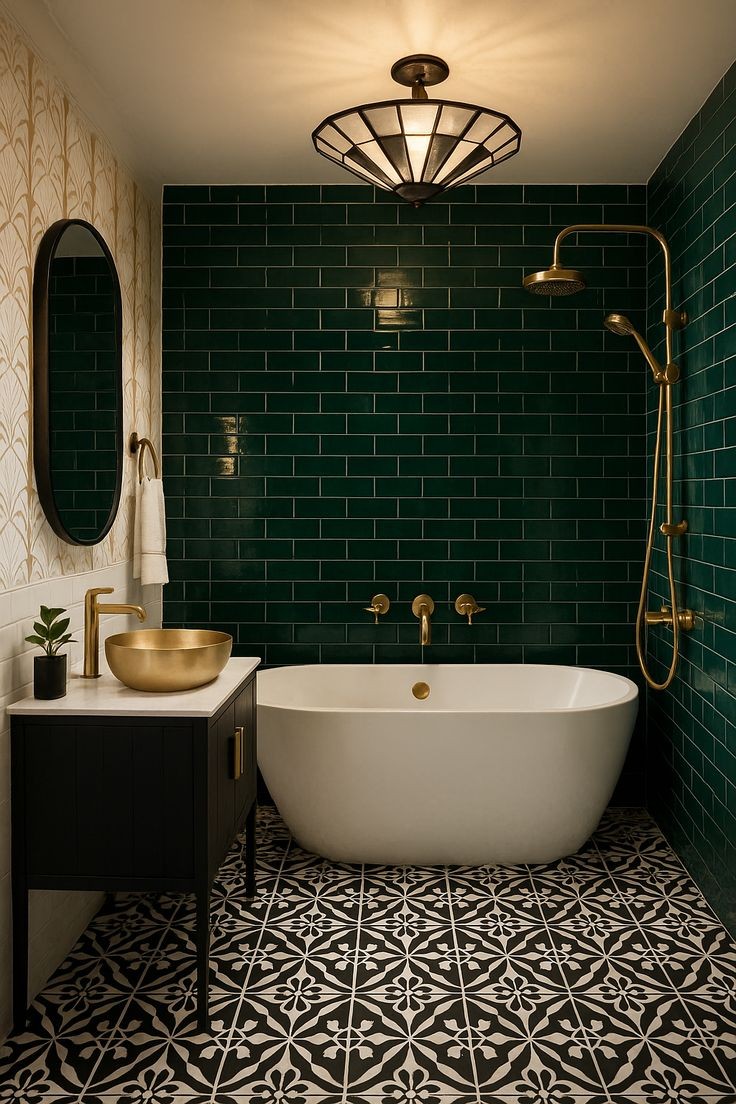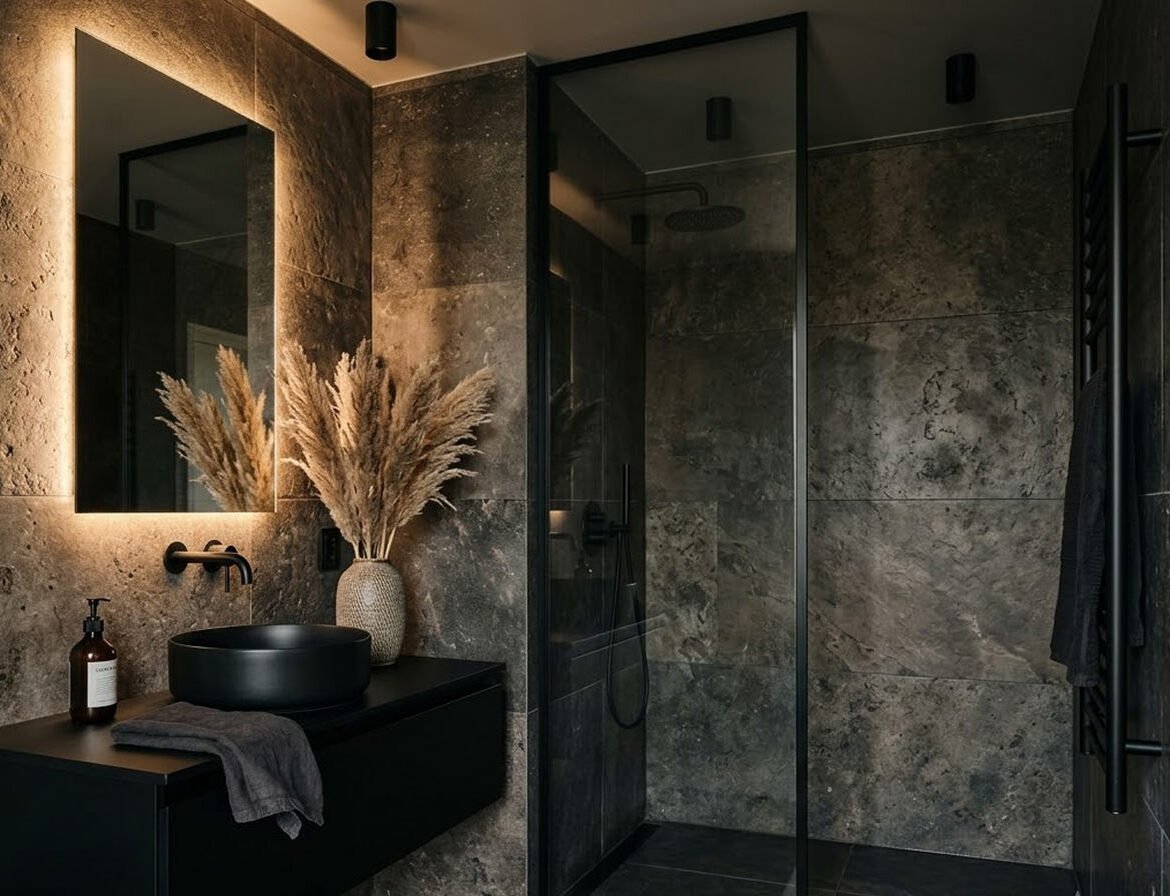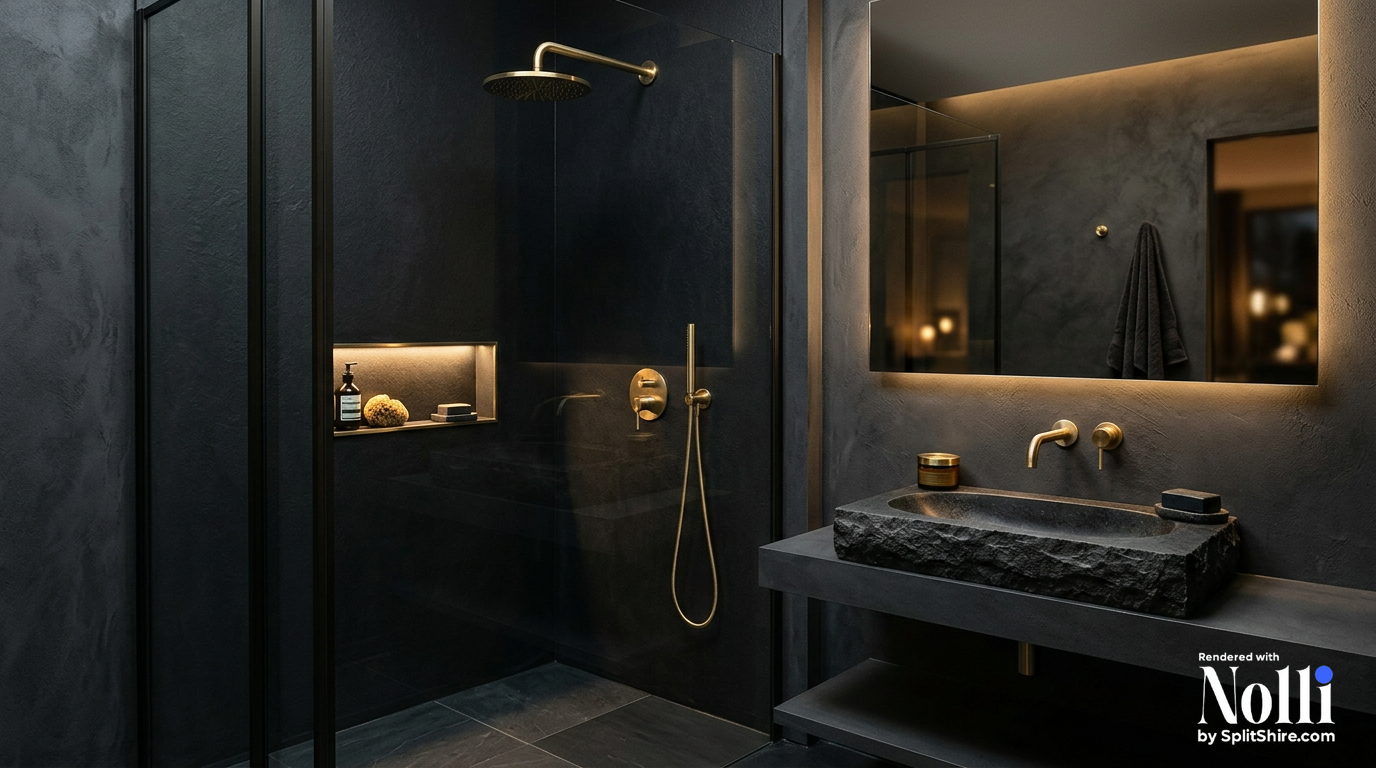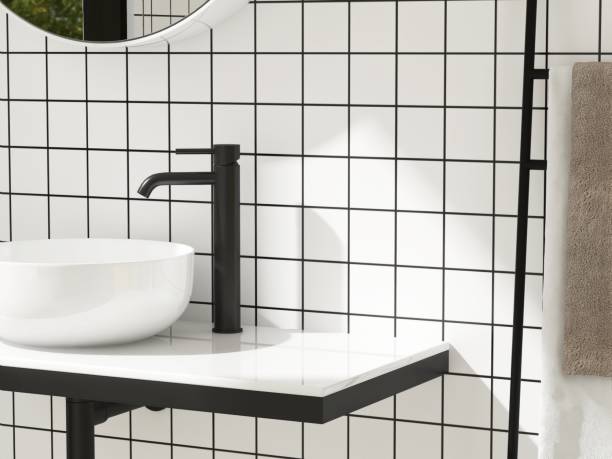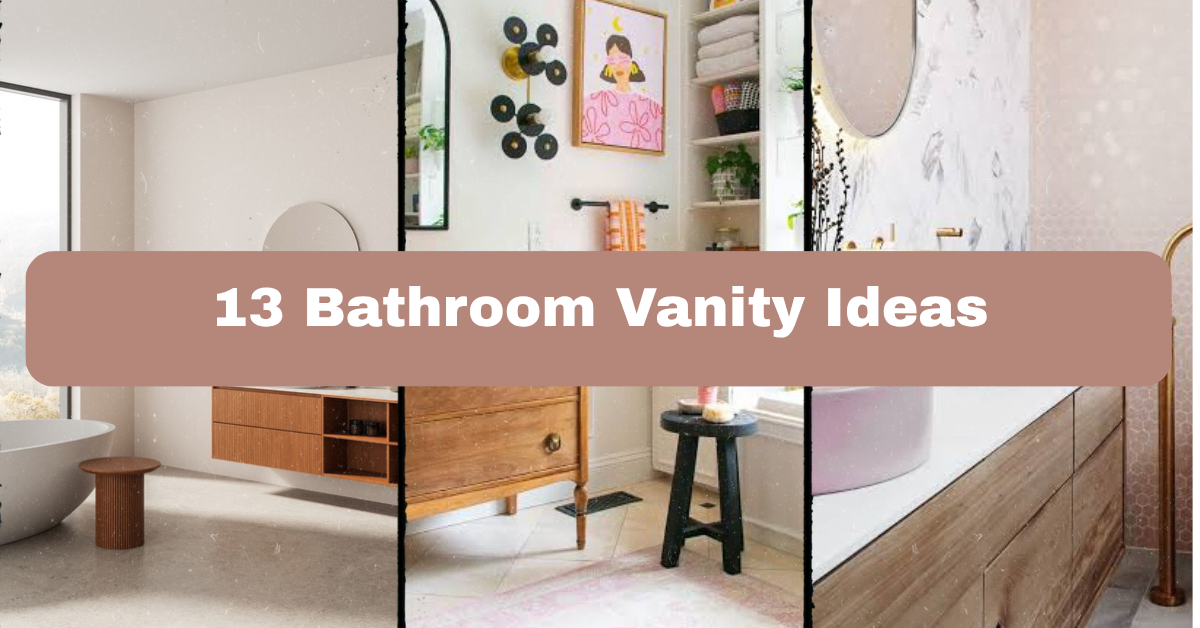
I’ve spent way too many hours scrolling through bathroom photos, and I finally put together 13 bathroom vanity ideas that actually work in real homes, not just magazine shoots. If you’re standing in your bathroom right now wondering why it feels so blah, your vanity might be the culprit. Let’s fix that together.
A bathroom vanity is the sink cabinet and countertop combo that anchors your bathroom’s whole look. The best vanity choice depends on your space size, storage needs, and budget, but options range from floating single-sink units to double-sink furniture pieces with stone tops.
Stick around, because I’m about to show you styles you probably haven’t tried yet, plus some mistakes that trip up almost everyone.
What Makes a Great Bathroom Vanity Anyway?
Okay, so before we jump into the fun stuff, let’s talk basics. A vanity isn’t just a sink holder. It’s storage, it’s style, and it’s usually the first thing people notice when they walk into your bathroom. I’ve seen tiny powder rooms transformed just by swapping out a boring builder-grade vanity for something with personality.
The trick is balancing three things: how much stuff you need to store, how much space you actually have, and what vibe you’re going for. Once you nail those three, everything else falls into place. Now let’s get into the good stuff.
1. Go Floating for a Modern, Airy Feel

Floating vanities hang on the wall instead of sitting on the floor. This creates visual space and makes small bathrooms feel bigger instantly. I love these for tight powder rooms where every inch matters.
The floor stays visible underneath, which tricks your eye into thinking the room is larger than it is. Pair a floating vanity with a light wood or matte white finish for that clean, minimalist look.
Practical tip: install it at 32 to 34 inches high for comfortable use, and make sure your plumbing can be tucked behind a panel for a seamless look.
This style fits modern and Scandinavian bathrooms best, though a floating walnut vanity can work in mid-century spaces too. Next up, let’s talk about a totally different approach that brings warmth instead of minimalism.
2. Repurpose an Antique Dresser Into a Vanity
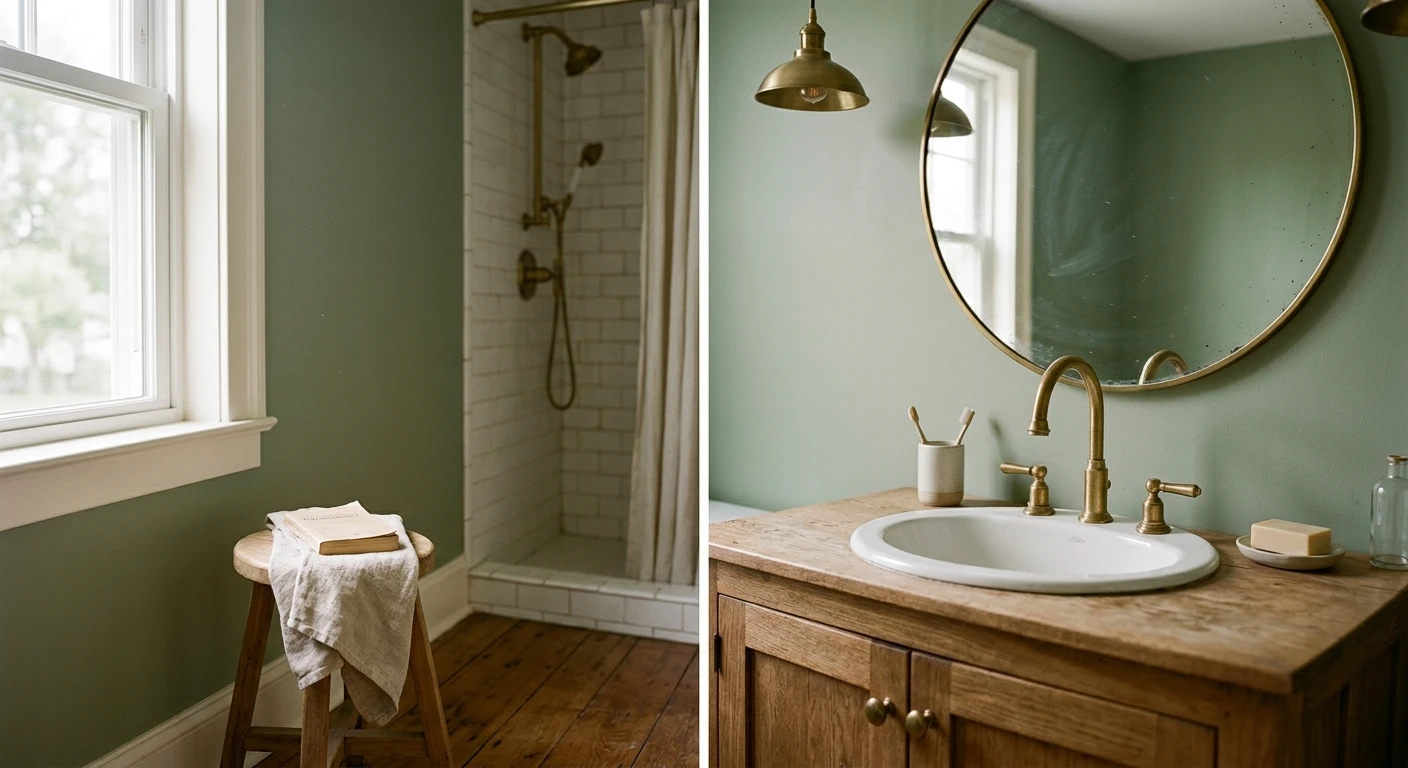
Old dressers make gorgeous vanities. You get unique character that no store-bought cabinet can match. I’ve seen thrifted dressers turned into showstoppers with just a sink cutout and some waterproof sealant.
Look for solid wood pieces at estate sales or antique shops. Avoid anything with heavy water damage already, since bathrooms are wet environments.
Actionable tip: seal the wood with a marine-grade varnish to protect against humidity and splashes.
This idea shines in farmhouse, cottage, or vintage-style bathrooms. It’s trickier to pull off in a strict modern space, but a black-painted antique piece can bridge that gap.
Speaking of paint, let’s talk color choices next, because this decision changes everything about your vanity’s personality.
3. Pick a Bold Color Instead of Playing It Safe
White vanities are fine, but bold colors make a statement. Navy blue, forest green, and deep terracotta are having a moment right now. A colorful vanity becomes the focal point of the whole room without needing much else.
I always tell people to pair bold vanity colors with simple, neutral walls. That way the vanity gets to shine instead of competing with everything else.
Popular Vanity Color Pairings
| Vanity Color | Wall Color | Hardware Finish | Best For |
|---|---|---|---|
| Navy Blue | Soft white | Brushed brass | Traditional, coastal |
| Forest Green | Light gray | Matte black | Modern, eclectic |
| Terracotta | Cream | Antique bronze | Boho, Mediterranean |
| Charcoal Gray | Pale blue | Chrome | Contemporary |
| Sage Green | White | Brushed nickel | Farmhouse, cottage |
Practical tip: test paint samples under your actual bathroom lighting before committing, since bathroom light can shift colors dramatically.
Bold color works in nearly every style, from farmhouse to modern, as long as you match the hardware finish to the vibe. Now let’s talk about what happens when two sinks are better than one.
4. Double Up With a Two-Sink Vanity for Shared Bathrooms
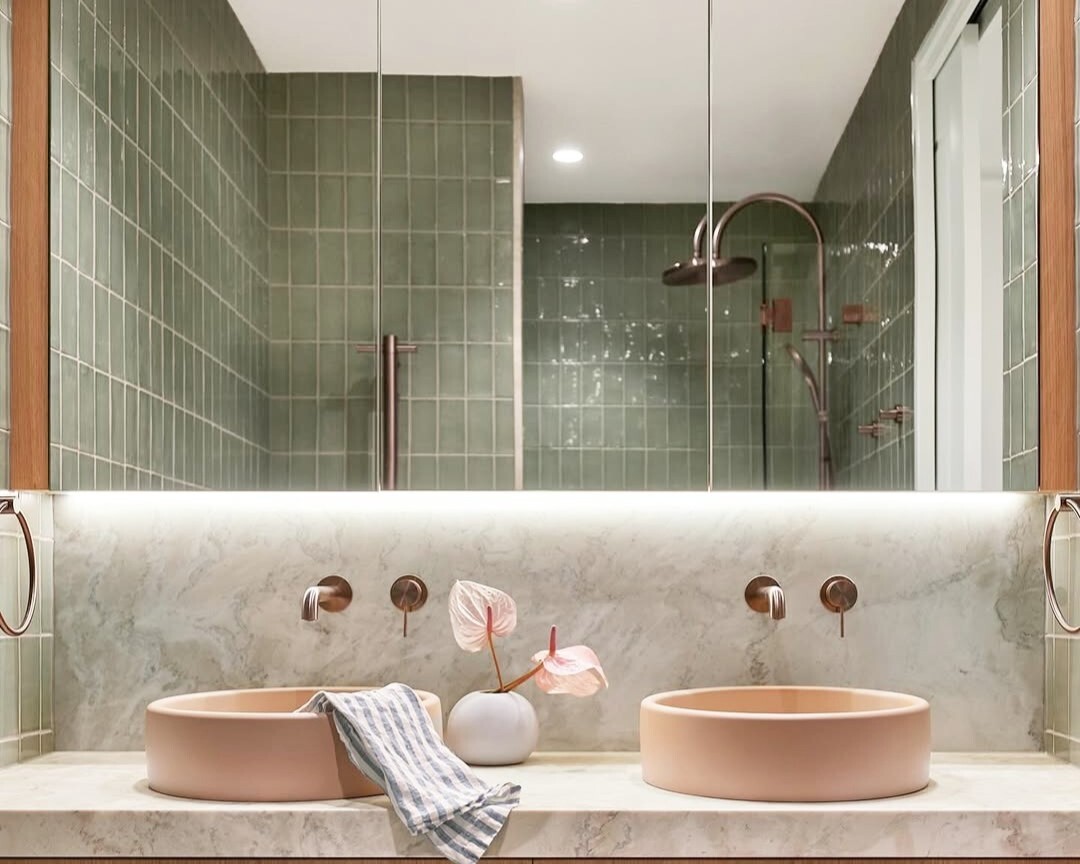
If you share a bathroom with a partner or your kids, a double vanity saves so much morning drama. Two sinks means two people can brush teeth and wash faces without bumping elbows.
You’ll need at least 60 inches of width for a comfortable double vanity setup. Anything smaller and the sinks feel cramped together.
Practical tip: leave at least 6 inches of counter space between the two sink basins so you’re not constantly bumping into each other’s toothbrush cups.
Double vanities work in almost any style. Traditional homes often go with matching pedestal-style legs, while modern homes prefer one long floating slab. Let’s shift gears now and talk about vessel sinks, because they change the whole vanity silhouette.
5. Add a Vessel Sink for Sculptural Interest
Vessel sinks sit on top of the counter instead of being built in. They look like decorative bowls, which adds a sculptural, artistic touch to your vanity. Glass, stone, and copper vessel sinks are especially popular right now.
I think vessel sinks work best on simpler vanity bases, since the sink itself becomes the star. A plain wood or white vanity lets the vessel sink pop.
Actionable tip: mount your faucet higher than usual, typically 8 to 10 inches above the counter, so water clears the vessel sink rim properly.
This idea fits modern, industrial, and eclectic bathrooms really well. Traditional spaces can pull it off too with a porcelain vessel sink and vintage-style faucet. Next, let’s talk storage, because a pretty vanity means nothing if it doesn’t hold your stuff.
6. Maximize Storage With Open Shelving Underneath
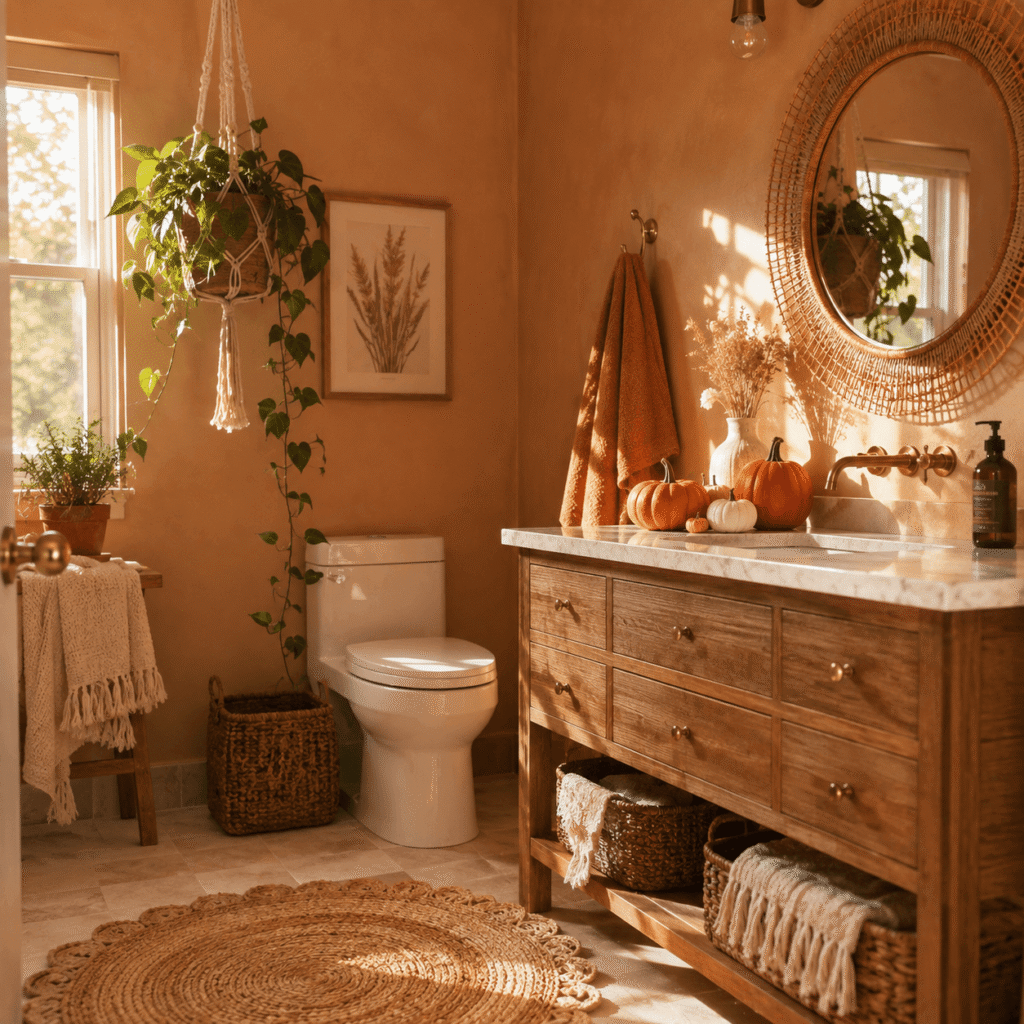
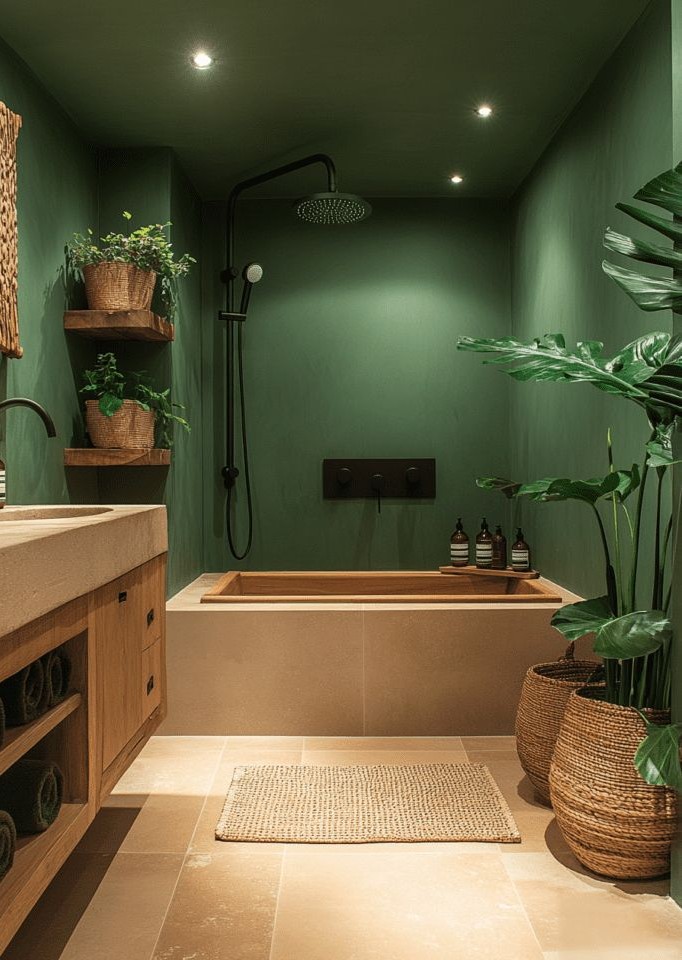
Open shelves under your vanity let you store baskets, towels, or decorative jars in plain sight. This works great in bathrooms where closed cabinets feel too heavy or bulky.
I like this idea because it forces you to be intentional about what you display. Rolled towels and woven baskets look intentional, while random clutter looks messy fast.
Practical tip: use matching baskets in a natural material like seagrass or rattan to keep the open shelving looking curated, not chaotic.
Open shelving fits coastal, boho, and farmhouse styles especially well. Modern bathrooms can use it too with sleek metal or glass shelves instead of wood. Now, let’s talk about mixing materials, because contrast is where the magic happens.
7. Mix Wood and Stone for Textural Contrast
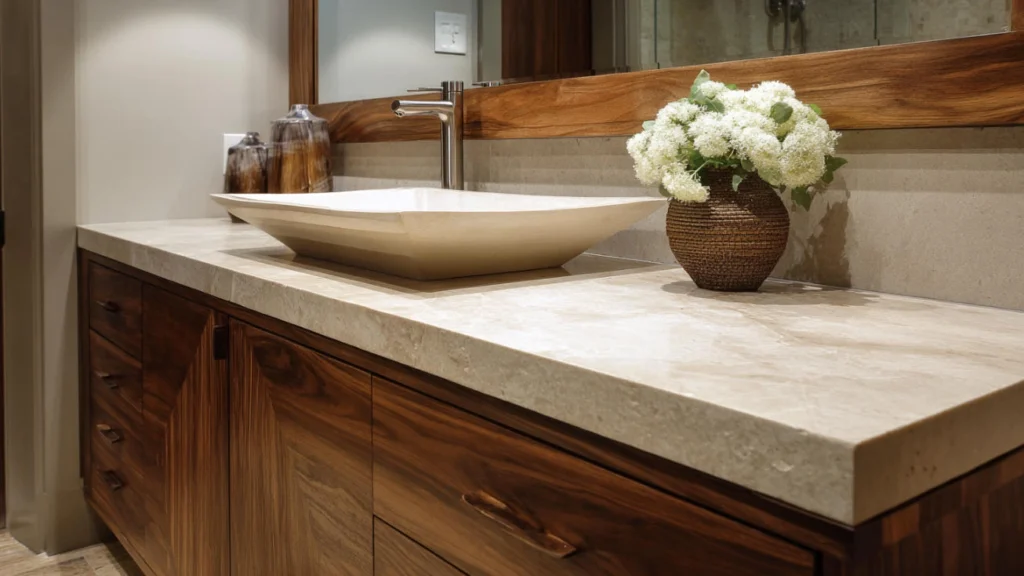
Pairing a wood vanity base with a stone countertop creates instant texture and depth. This combo feels warm but still polished, which is why designers use it constantly.
Quartz and marble are popular stone choices because they resist water damage well. Wood bases bring warmth that stone alone can’t achieve.
Practical tip: seal natural stone countertops annually to prevent staining from soap, toothpaste, and makeup products.
Countertop Material Comparison
| Material | Durability | Maintenance | Average Cost per Sq Ft | Best Style Match |
|---|---|---|---|---|
| Quartz | High | Low | $50-100 | Modern, transitional |
| Marble | Medium | High | $60-150 | Traditional, luxury |
| Granite | High | Medium | $40-80 | Traditional, rustic |
| Butcher Block | Low | High | $30-60 | Farmhouse, cottage |
| Concrete | High | Medium | $65-135 | Industrial, modern |
This wood-and-stone combo adapts to almost every style. Coastal homes often use light oak with white quartz, while traditional homes lean toward dark walnut with marble. Speaking of traditional touches, let’s talk about hardware next.
8. Upgrade Your Hardware for an Instant Style Shift
Sometimes the fastest fix is swapping out old knobs and pulls. New hardware changes the entire feel of a vanity without any major renovation work.
Brass and gold hardware feels warm and traditional. Matte black feels modern and dramatic. Chrome feels clean and classic.
Practical tip: measure your existing hardware holes before shopping, since mismatched hole spacing means extra drilling or filling.
This trick works in literally every bathroom style since hardware is such a small, swappable detail. A single hardware swap can shift a vanity from farmhouse to modern in an afternoon. Now let’s look at lighting, because it works hand in hand with your vanity choice.
9. Frame Your Vanity With Statement Lighting

Good lighting makes your vanity look expensive even if it wasn’t. Sconces on either side of the mirror give even, flattering light for getting ready in the morning.
I always recommend warm white bulbs around 2700K to 3000K for bathroom vanities. Cooler light tends to feel harsh and clinical.
Practical tip: mount sconces at eye level, roughly 60 to 65 inches from the floor, for the most flattering face lighting.
Statement lighting adapts easily. Brass sconces suit traditional spaces, while sleek black or glass fixtures suit modern bathrooms. Now let’s talk about a small-space solution that a lot of people overlook.
10. Choose a Corner Vanity for Awkward Layouts

Corner vanities solve a real problem: weird, cramped bathroom layouts. If your bathroom has an odd angle or a small footprint, tucking the vanity into a corner frees up walking space.
These vanities are triangular or curved to fit snugly into the corner. They’re less common, so you might need a custom build or a specialty retailer.
Practical tip: measure diagonally from wall to wall before shopping, since corner vanities need precise fit to avoid gaps.
Corner vanities work especially well in small cottage-style or coastal bathrooms where space is tight but character still matters. Now, let’s talk about something a little unexpected: furniture-style legs.
11. Add Furniture-Style Legs for a Custom Look
Vanities with exposed furniture legs look less like plumbing fixtures and more like actual furniture pieces. This small design choice makes a huge visual difference.
Tapered wood legs feel mid-century, while turned or fluted legs feel more traditional. Metal legs feel industrial or modern.
Practical tip: choose legs with adjustable feet so you can level the vanity on uneven bathroom floors.
This idea flexes across nearly every design style depending on the leg shape and material you pick. A little detail like this can completely change how “built-in” or “furniture-like” your vanity feels. Let’s move on to mirrors now, since they’re basically the vanity’s best friend.
12. Choose an Oversized or Unique-Shaped Mirror

Your mirror does a lot of visual work above the vanity. A big, bold, or oddly shaped mirror draws the eye up and makes the whole setup feel more designed.
Arched mirrors feel soft and traditional. Round mirrors feel modern and playful. Full-wall mirrors feel luxurious and make small spaces feel bigger.
Practical tip: your mirror should be roughly 2 to 4 inches narrower than your vanity on each side for the most balanced look.
This works across every style since mirror shape alone can shift the whole feeling of a vanity setup. Now for one last idea that ties everything together nicely.
13. Layer in Greenery for a Fresh, Finished Look

A little plant life near your vanity makes the whole space feel alive. Bathrooms with decent light can support real plants, while low-light bathrooms do better with faux greenery or dried arrangements.
Small pothos, snake plants, or eucalyptus stems work great on vanity counters without taking up too much room.
Practical tip: choose plants that tolerate humidity well, since bathroom moisture can rot roots in plants that prefer dry conditions.
Greenery works in every single style listed here, from modern to farmhouse to coastal. It’s the easiest, cheapest way to finish off any vanity look you choose.
Tips for Success
- Measure your bathroom width and depth before falling in love with any vanity style, since size constraints often narrow your options fast.
- Stick to water-resistant materials for countertops and cabinet finishes, especially in humid climates.
- Choose a faucet finish that matches your hardware and lighting for a cohesive, put-together look.
- Test paint or stain samples in your actual bathroom lighting before committing to a full vanity finish.
- Don’t skip proper ventilation, since trapped moisture damages wood vanities over time.
- Leave room for a trash can or hamper near your vanity if your bathroom layout allows it.
- Prioritize storage that matches your daily routine, not just what looks nice in photos.
Common Mistakes and How to Avoid Them
Choosing style over function
: Fix this by listing your storage needs first, then shopping for vanities that check those boxes before worrying about looks.
Ignoring plumbing rough-in locations
: Fix this by confirming your existing plumbing placement matches your new vanity’s sink position, or budget for a plumber to move it.
Picking a vanity too big for the room
: Fix this by leaving at least 30 inches of clear floor space in front of the vanity for comfortable movement.
Mismatched hardware and fixture finishes
: Fix this by choosing one metal finish family, like all brass or all matte black, across faucets, hardware, and lighting.
Skipping a proper sealant on wood or stone
: Fix this by sealing porous materials before installation and reapplying sealant yearly to prevent water damage.
Overlooking mirror and lighting placement
: Fix this by planning lighting and mirror height alongside your vanity purchase, not as an afterthought.
Similar Variations
- Coastal Vanity Style – light wood tones, white countertops, and rope or rattan accents for a beachy feel.
- Industrial Vanity Style – metal legs, concrete countertops, and exposed pipe fixtures for a raw, urban look.
- Farmhouse Vanity Style – shiplap paneling, apron-front sinks, and vintage-inspired hardware for cozy charm.
- Minimalist Vanity Style – floating cabinets, hidden hardware, and monochrome color schemes for clean simplicity.
- Glam Vanity Style – marble tops, gold hardware, and mirrored cabinet fronts for a luxe, polished vibe.
- Eclectic Vanity Style – mismatched materials, bold colors, and vintage finds combined for a one-of-a-kind look.
Picking the right vanity really does change how your whole bathroom feels, from the colors you choose to the storage you actually use every day. I hope these 13 bathroom vanity ideas gave you a clearer picture of what’s possible, whether you’re doing a full renovation or just swapping out hardware this weekend.